Removing an old carpet so you can put in a hardwood floor isn’t easy, but if done right it can be very rewarding. Not only do hardwood floors look great, but they are also much easier to clean and maintain than carpets.
If you are wondering whether it is possible to install a new floor by yourself the answer is yes, and all it takes is a few tools and a bit of elbow grease. This guide will take you step by step through the process of removing your carpet and laying down a new hardwood floor.
What You Will Need
Before you start, you will need to gather the following tools as well as your chosen hardwood for laying down the new floor:
- A Hammer and nails
- A moisture barrier
- Foam padding
- Pry bar.
- Pliers
- A floor scraper
- Utility knife or scalpel
Removing The Carpet
Your first move should be to remove the trimming that connects the old carpet to the wall. Before you do this first consider if you want to save the trim for laying a new carpet once you’re done.
If you have a new trim lined up, or don’t want to lay a fresh carpet at all, then you can remove the old trimmings with a pry bar, but if you do want to reuse them then remember to do so gently and mark the pieces so you know where they go.
Next, peel the carpet away from the wall and start to roll it up starting at one corner and working backward. If there is an underlay beneath the carpet you need to make sure you remove that too.
Some carpets will be glued down and should come loose with a good tug, while others may be stapled and tacked into place. Removing these is a little trickier but if a specific section is being stubborn then you can cut it away from the wall with your razor.
If your carpet was placed over a wooden floor, then your next step will be, to remove all the leftover tacks and staples that were holding it down. These should come out easily enough with a pair of thin-nosed pliers.
Make sure to get the sub-floor as clean as possible before you lay the new one. This will involve removing any leftover staples or tacks, using a floor scraper to remove glue residue, as well as sweeping and mopping the old floor in preparation for laying the new one.
Laying The New Floor
With the carpet pulled up you are ready to start laying a new hardwood floor. A good tip is to leave your boards in the room where they are going to be put down overnight so they can acclimatize to the room.
Always do a moisture assessment of the subfloor before laying down any planks to see if you should put down a moisture barrier as an underlay. If you see any rotten planks or extensively damaged sections of the floor they will need to be removed as well.
Putting foam pads underneath the new floor is also a good idea as this will decrease the amount of noise when people walk on them. How you go about placing your new hardwood floor will depend on what type of boards you’ve bought. You might even ask yourself “Does all woodflooring have tannins?” – it’s a fairly common question.
Floating Floors
Floating floors are great as they don’t require any nails which makes them much quicker and easier to put down. Many of them also come pre-laminated so you won’t need to use any varnish.
The individual pieces have a system of tongues and grooves that allow them to snap together. You need to leave a 5/16 inch gap between the edge of the floor and the wall so it has room to expand, which will require spacers for placing in the corners and along the edge of the floor. Fill the grooves with wood glue and fit the pieces together so they run parallel to the longest wall in the room.
Keep a damp cloth close to hand for wiping away the excess glue. Use duct tape as you progress to hold the planks together until the glue dries and make sure you have a saw for cutting the planks to the correct length where necessary.
You can use a wooden block and a hammer to gently tap the boards into place which will prevent any gaps between the boards. Remember to place spacers between each new plank and the wall as you progress across the room.
Glue Down Floors
You can glue some floors directly onto the subfloor. If you are doing this over a concrete floor then you will need to put down an initial layer of glue to act as a damp-proof layer.
Once this is done spread your glue of choice over the floor covering just a small area at a time. Place the planks over the glue and push them together, repeat until the whole floor is laid. This can be a simple method of flooring if done properly however, you shouldn’t walk on your floor for at least 24 hrs after finishing to make sure the glue has dried
Nailing Down Floors
The most popular way of laying down a new wooden floor is by nailing it directly into the old one. For this, you will need a nail gun and big enough nails to penetrate your boards and reach the subfloor.
To provide enough stability and avoid warping, you should lay your new boards at a 90° angle to the old ones so they form a criss-cross pattern.
While nailing down your boards make sure to drill pilot holes every 6 inches along the floor and to drive the nails down until their heads are just above the wood. Use a nail file and set to punch them beneath the wood and then apply wood filler to cover them up.
If you want a nice staggered look to your floor always cut the first board of each row 6 inches longer or shorter than the first board of the prior one.
Conclusion
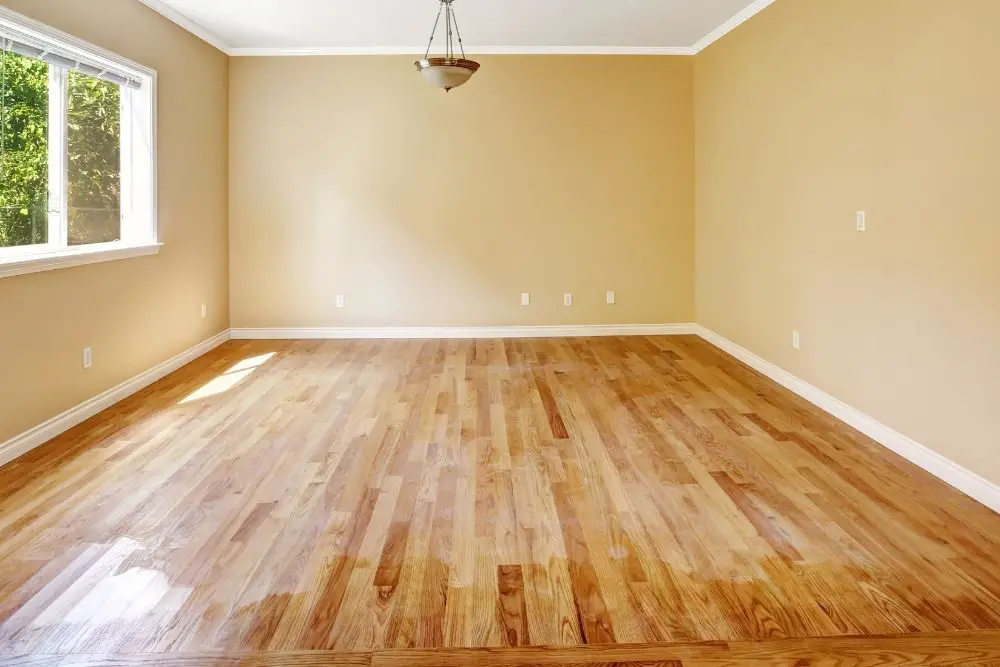
There you have it, if you follow these steps you will know everything you need to pull up your carpet and start laying your new hardwood floor. It is important while working to be patient and always measure twice so you only need to cut once. If you follow the advice in this guide, you’ll be staring at your new, beautiful, hardwood floor in no time.